The wardrobe won't fit up the stairwell, the bed won't go in the lift – and when you put everything back together, three screws have mysteriously vanished. If you want to dismantle furniture without the headaches, a little system goes a long way: photos before every step, labelled bags for the screws and good padding for the journey.
These five pro tips show how to take apart a wardrobe, bed and table, get them safely through the stairwell and put them back together in your new flat.
Which furniture to dismantle for a move
Dismantled furniture is lighter, fits through narrow stairwells and into the lift, and stacks more neatly in the van. Above all, it gets damaged less: a wardrobe carried with its doors on easily twists, and hinges can tear out. Not every piece needs to come apart, though:
| Item | Dismantle? | What to watch out for |
|---|---|---|
| Wardrobe | Almost always | Doors and shelves first, back panel last |
| Bed | Yes | Slatted base and mattress separately, fittings labelled |
| Dining table | Often just the legs | Protect the top with blankets |
| Shelving and bookcase | For large models | Undo the wall fixing, bundle the shelves |
| Chest of drawers | Rarely | Empty the drawers and secure them with stretch wrap |
| Sofa | Often just the feet | Protect the covers, separate the modules |
| Glued or antique furniture | No | Move it whole, well padded |
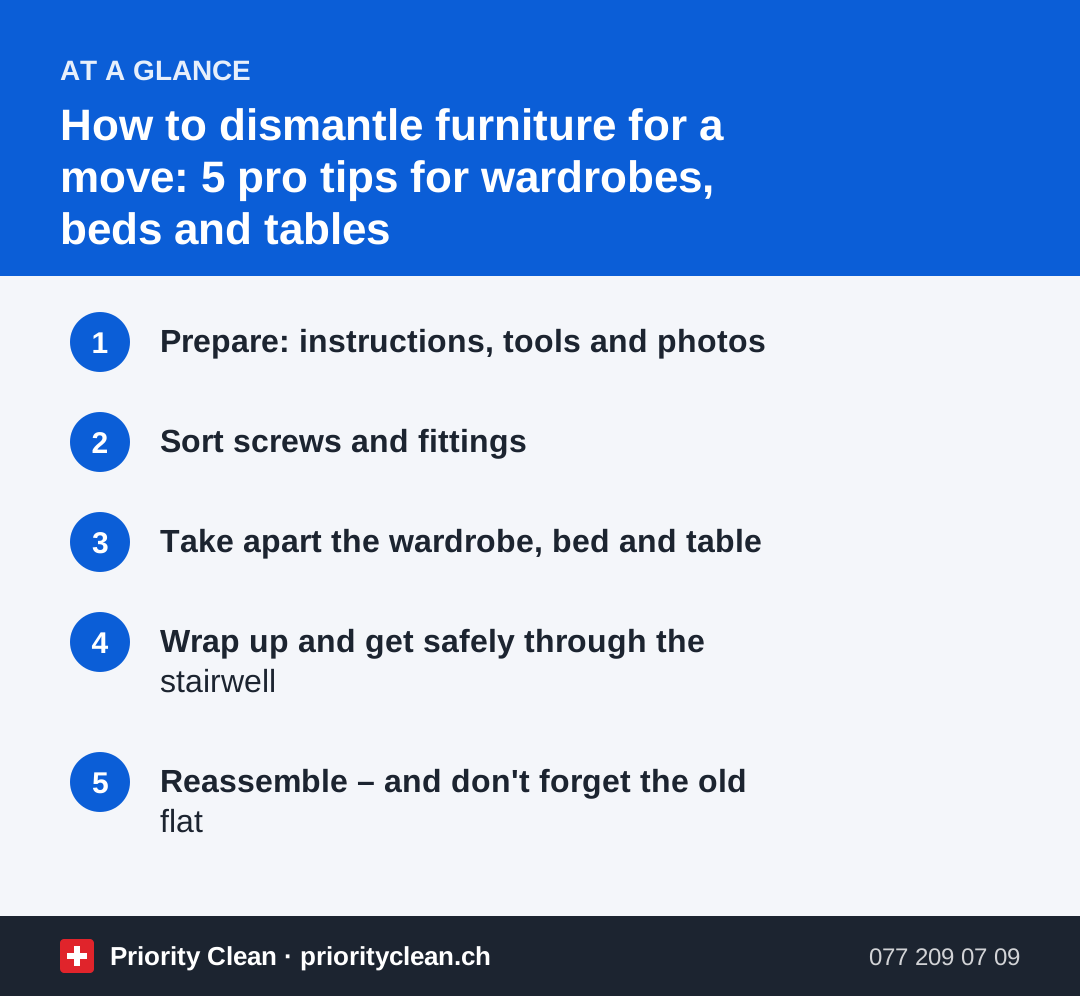
1. Prepare: instructions, tools and photos
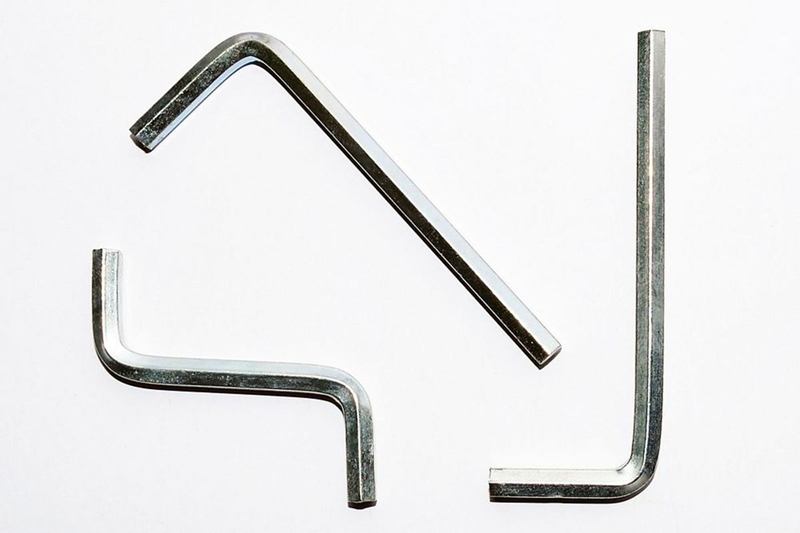
Dig out the assembly instructions. If they're lost, many manufacturers offer them online under the model name. Get your tools ready: a cordless screwdriver with adjustable torque, Allen keys, screwdrivers, a rubber mallet, a box cutter, masking tape, a marker pen and resealable bags.
Empty the piece completely and take out loose parts such as shelves and the clothes rail. Then photograph it from every side, and each step after that, especially joints and fittings. Number the parts with masking tape, for example "left side" or "top shelf". On high-gloss or freshly varnished surfaces, test the tape on a hidden spot first.
Schedule the dismantling a few days before moving day, as it often takes longer than expected. The moving checklist from ch.ch helps you spread the tasks before, on and after moving day.
2. Sort screws and fittings
Mixed-up screws are the biggest headache when reassembling. To keep track:
- One bag per item: labelled, e.g. "Bedroom wardrobe – doors".
- Taped to the furniture: stick the bag inside a large part, not on a visible surface.
- Screw small parts back in: once a part is off, loosely screw back bolts and screws that can stay in the wood.
- Leave wooden dowels in place if they are firmly seated.
- Load the toolbox last: it's the first thing you'll need when you arrive.
3. Take apart the wardrobe, bed and table
Wardrobe:
- Remove shelves, clothes rail and drawers.
- Take the doors off while holding them, ideally with two people. The hinges usually stay on the door.
- Undo the wall fixing – and only then move the wardrobe.
- Remove the back panel carefully: it is often nailed on or slotted into a groove and breaks easily.
- Separate the top, sides and base, and number them.
Bed: put the mattress in a mattress bag or wrap it in film, lift out the slatted base, then detach the side rails from the headboard and footboard. The fittings go in the bag labelled with the bed.
Table: usually it's enough to unscrew the legs. Pad the top with blankets. Transport glass tops upright on their edge, wrapped in blankets or cardboard, and never under heavy items.
4. Wrap up and get safely through the stairwell
Wrap parts in blankets and hold them in place with stretch wrap. On delicate surfaces such as high gloss, put a blanket on first and only then the wrap. Protect edges and corners with cardboard.
Always carry heavy and long parts in pairs. Agree beforehand who goes first, and carry wardrobe sides upright on the stairs where possible. Pad tight corners, the handrail and the lift car with blankets: scratches in the shared areas quickly cause trouble with the property management and neighbours. For organising your team, see our guide on moving day helpers.
5. Reassemble – and don't forget the old flat
In your new flat, reassemble in reverse order, ideally starting with the beds. Set the cordless screwdriver to a low torque and tighten screws in chipboard by hand: stripped threads won't hold. Level wardrobes with a spirit level and adjust the doors at the hinges. Fix tall furniture to the wall again; if you're unsure where you may drill, check with the property management.
In the old flat, dismantling often leaves wall plug holes and dust behind the furniture. Unless the lease says otherwise, the flat and ancillary rooms must be cleaned thoroughly, as the tenants' association leaflet on move-out cleaning (in German) explains – it also covers filling wall plug holes. More in Filling holes in walls when moving out. Get rid of furniture you won't be taking in good time – see Furniture disposal in Switzerland.
Common mistakes
- Dismantling without photos: when reassembling, nobody remembers the order.
- All the screws in one bag: sorting them costs hours at the other end.
- Cordless screwdriver at full power: stripped threads in chipboard are hard to repair.
- Carrying the wardrobe with its doors on: hinges tear out and the carcass twists.
- Leaning parts in the stairwell: they become trip hazards and scratch the walls.
Frequently asked questions
Which furniture should you dismantle for a move?
Mainly large wardrobes, beds, wall units and big tables. Small chests of drawers usually travel whole; glued or antique furniture shouldn't be taken apart, but moved well padded.
How do I remember where each screw goes?
Photograph every dismantling step, put each item's screws in labelled bags and tape them to the furniture. Numbered parts make reassembly even easier.
Do I have to fill wall plug holes when I move out?
That depends on your lease and the property management. Ask before you fill anything; the tenants' association leaflet on move-out cleaning also covers wall plug holes.
How do you move a glass table top safely?
Upright on its edge, wrapped in blankets or cardboard and firmly secured in the vehicle. Never put heavy items on it, and carry large tops in pairs.
Thanks for your feedback! Feel free to share the guide.
Thanks! What was missing? Drop us a line – we will improve the guide. WhatsApp