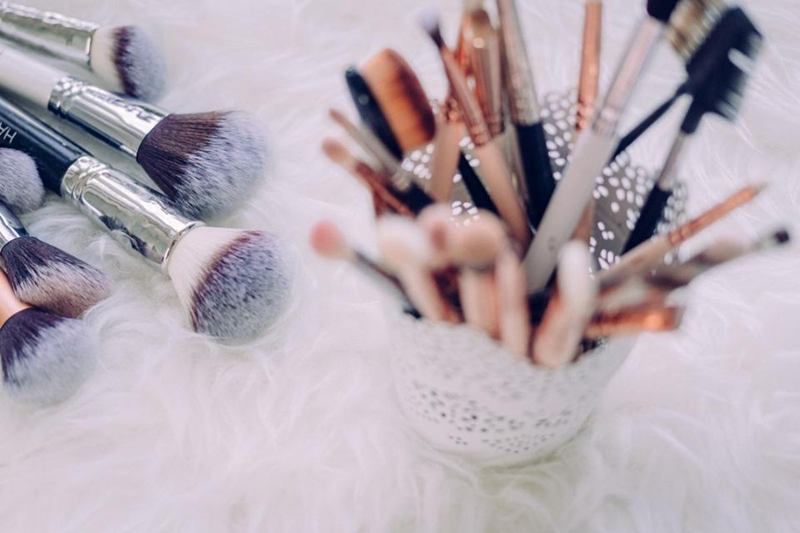
Foundation, powder, skin oil and dust: a brush that gets used every morning collects quite a lot. Knowing how to clean makeup brushes properly doesn't require expensive specialist products or much time – mild soap, lukewarm water and the right technique are enough. What matters most is getting the bristles clean without letting water run into the ferrule.
The same goes for makeup sponges such as the Beautyblender, which are used damp and therefore need extra care. Here is how often each tool needs a wash and how to go about it in five steps.
Why you should clean makeup brushes regularly
Bristles don't just pick up colour: they also collect skin oil, dead skin cells and dust. With every application, some of that goes back onto your face and into your powder compact. On sensitive skin, dirty brushes and sponges can contribute to blemishes; if skin problems persist, ask a pharmacist or dermatologist for advice.
Your results suffer too: clogged bristles pick up product unevenly and foundation looks patchy. Well-kept tools stay soft and last much longer.
| Brush or sponge | Thorough wash | In between |
|---|---|---|
| Makeup sponge, Beautyblender | at least once a week | rinse after every use and leave to dry |
| Foundation, concealer and cream brushes | once a week | wipe off residue on a tissue |
| Powder, blusher and bronzer brushes | every one to two weeks | tap out and sweep over a clean cloth |
| Eyeshadow, eyeliner and lip brushes | once a week | wipe with a cloth after use |
These are rough guidelines: if your skin is prone to blemishes, wash more often. And it is best not to share your tools.
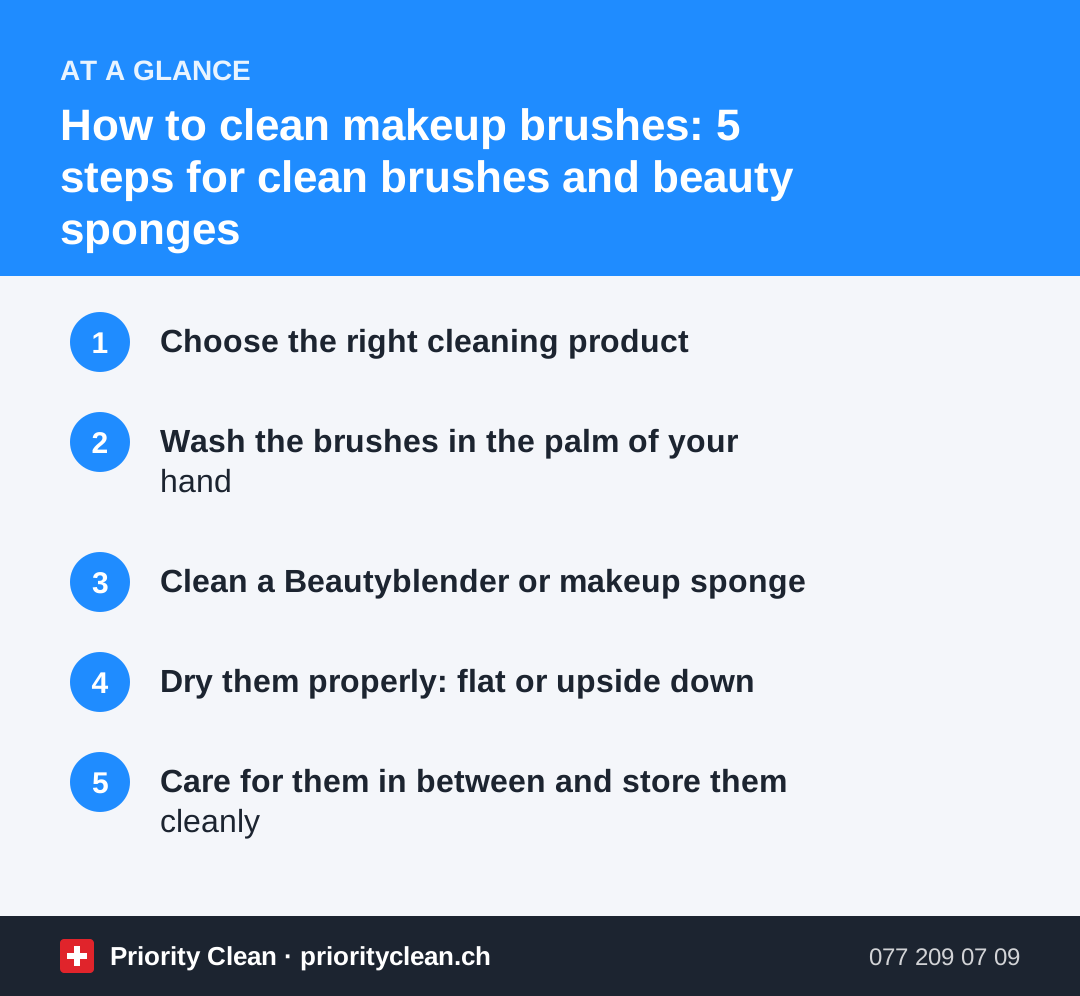
1. Choose the right cleaning product
For a normal wash you don't need a special product. Good options are:
- Mild soap: a plain bar of soap or hand soap without strong fragrance. The Swiss consumer protection foundation lists curd soap among the simple household remedies that can replace many specialist cleaners.
- Gentle shampoo: baby shampoo, for example, dissolves skin oil and is kind to natural hair.
- A little washing-up liquid: for sturdy synthetic bristles loaded with foundation; it can dry out natural hair.
- A few drops of cooking oil: break down waterproof foundation first. Then wash again with soap, or the bristles will stick together.
Special cleansers are handy but not essential. The Swiss Federal Office of Public Health (FOPH) points out that good home hygiene matters more than the strongest products and that disinfecting cleaners are not needed in an average household of healthy people. Bleach, disinfectants and nail polish remover also damage bristles and glue.
2. Wash the brushes in the palm of your hand
This is how bristles get really clean without being damaged:
- Wet the brush head under lukewarm running water, bristles pointing down.
- Put a little soap or a drop of shampoo in the palm of your hand.
- Swirl the brush in small circles in your palm – the lather will change colour straight away.
- Rinse, lather again and repeat until the foam stays white and the water runs clear.
- Gently squeeze the bristles between your fingers and pat them with a clean towel.
- Reshape the head with your fingers.
A textured silicone cleaning mat works just as well as your palm. The main thing: no hot water, no soaking and never twist the handle.
3. Clean a Beautyblender or makeup sponge
Sponges soak up water and foundation while you do your makeup and stay damp for a long time. So rinse them after every use and wash them thoroughly at least once a week:
- Let the sponge soak up lukewarm water.
- Put a little soap on the stained areas, then knead and squeeze the sponge under the running tap.
- Repeat until the water stays clear.
- Squeeze firmly but don't wring – otherwise the material tears.
- Press it into a towel and leave it to air-dry.
Replace the sponge as soon as it cracks, crumbles or smells musty.
4. Dry them properly: flat or upside down
How you dry a brush largely decides how long it lasts:
- Lying flat: place the tools on a clean towel with the heads slightly over the edge of the table.
- Upside down: drying racks hold them with the bristles pointing down – ideal for dense brushes.
- Never upright in a cup: leftover water would run into the ferrule.
- No heat: hairdryers, radiators and direct sunlight make bristles brittle and loosen the glue.
- Somewhere airy: not in a closed bathroom cabinet or in your makeup bag.
Depending on density, they need a few hours; foundation brushes and sponges often take until the next day. Only use them once they are completely dry.
5. Care for them in between and store them cleanly
Between washes, sweep powder brushes over a clean cloth and wipe those used for liquid products on a tissue. Quick-drying cleansing sprays are meant for when you're out and about and don't replace a proper wash; if you use one, choose a pump spray rather than an aerosol with propellant.
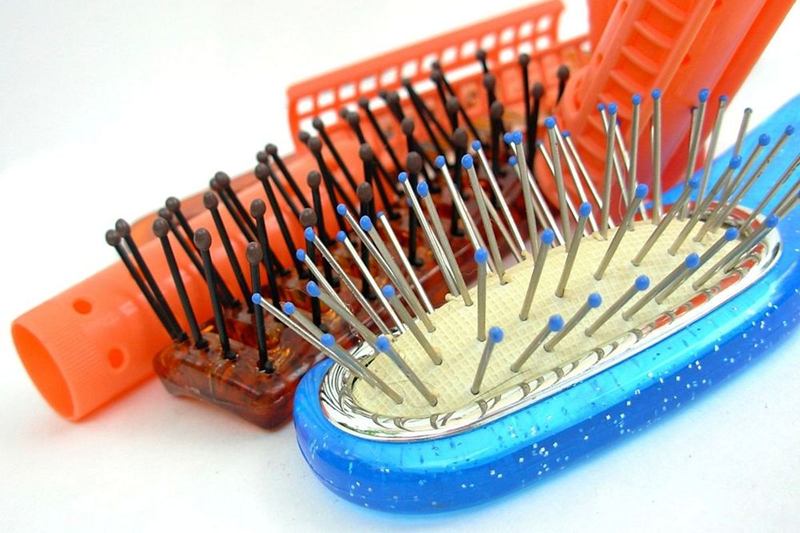
Once dry, store the brushes head up in a cup or lying flat in a brush roll. Wash the cup and your makeup bag regularly too – our guide on how to clean a toothbrush holder shows how to do it at the washbasin. While you're at it, it's worth cleaning your hairbrush now and then as well.
Common mistakes
- Soaking brushes in a glass of water: the water creeps into the ferrule and dissolves the glue.
- Washing too hot: hot water makes natural hair brittle and weakens the glue.
- Not rinsing properly: leftover soap and oil make the bristles stick together.
- "Disinfecting" the sponge in the microwave: the material can be damaged and there is a fire risk. Soap and water are enough.
Got foundation on your jumper? Our guide on how to remove makeup stains can help.
Frequently asked questions
How often should you clean makeup brushes?
As a rule of thumb: brushes for liquid and cream products and makeup sponges once a week, powder and blusher brushes every one to two weeks. Rinse sponges after every use as well.
What is the best way to clean makeup brushes?
Lukewarm water and mild soap or a gentle shampoo. Dedicated cleansers are handy but not necessary. Bleach, disinfectants and nail polish remover damage bristles and glue.
How long do makeup brushes take to dry?
Depending on how dense they are, anything from a few hours to overnight. Lay them flat or upside down somewhere airy and only use them once they are completely dry.
When should you replace a Beautyblender?
As soon as it cracks, crumbles, no longer washes clean or smells musty. If it loses its shape and bounce, it's also time for a new one.
Thanks for your feedback! Feel free to share the guide.
Thanks! What was missing? Drop us a line – we will improve the guide. WhatsApp