The first warm days tempt you back onto the bike – and the helmet that spent the winter in the cellar smells of old sweat and is covered in dust. To clean a bike helmet you need nothing more than lukewarm water, mild soap and a little patience. What you leave out matters far more: solvents, heat and harsh cleaners.
A bike helmet usually consists of a thin plastic shell with a layer of rigid foam underneath that absorbs the energy of an impact. Both suffer from the wrong care. These five steps show how to get the pads, shell and straps clean – and how to tell when it is time for a new helmet.
Why you should clean a bike helmet
On every ride your helmet soaks up sweat, skin oils, sun cream and road dust. The pads start to smell, salt marks form on the straps and dirt builds up in the buckle until it is hard to close. A neglected helmet is also less pleasant to wear – and a helmet only protects you if it is on your head.
The Swiss Council for Accident Prevention (BFU) notes that a bike helmet halves the risk of head injury, and recommends checking all parts for wear from time to time and using only water and soap for cleaning, as solvents can damage the shell. Cleaning day is therefore also the perfect moment for a quick safety check.
| Part | How to clean | Avoid |
|---|---|---|
| Inner pads | By hand in lukewarm soapy water or as per manufacturer | Hot washes, tumble dryer |
| Outer shell | Soft sponge, water, mild soap | Solvents, abrasives, pressure washer |
| Inner rigid foam | Damp cloth, dab gently | Soaking, chemicals |
| Straps and buckle | Soapy water, soft brush | Bleach, oil, heat |
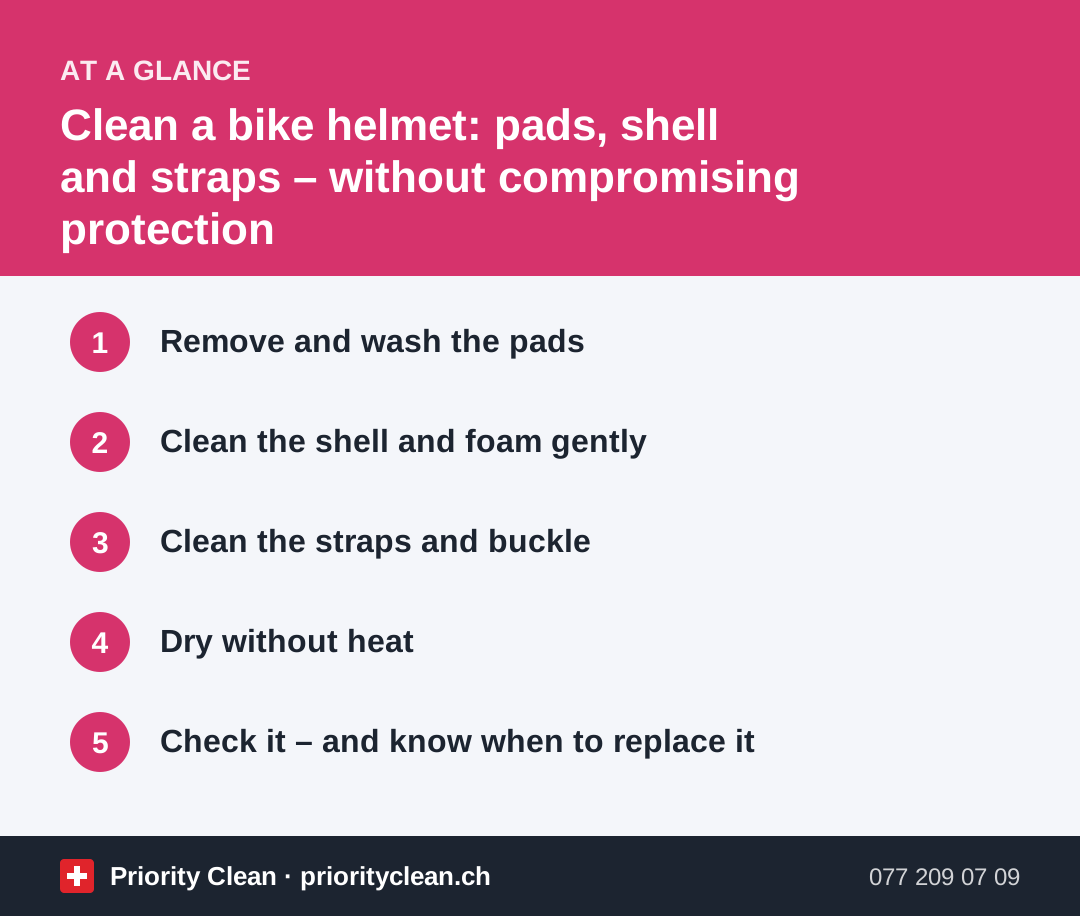
1. Remove and wash the pads
Most helmets have inner pads held in place with hook-and-loop dots. Peel them off carefully and note where they go – a photo on your phone helps when refitting them. Wash the pads by hand in lukewarm water with a little mild detergent or soap, squeeze them out several times and rinse well.
Some manufacturers also allow machine washing in a laundry bag at a low temperature. Stick to the instructions in the manual. Afterwards, press the pads out rather than wringing them, and let them dry flat in the air.
2. Clean the shell and foam gently
Wipe the outer shell with a soft sponge, lukewarm water and a few drops of mild soap. Stuck-on insects come off more easily if you lay a damp cloth over them for a few minutes. Then wipe over with clean water.
Only dab the rigid foam inside with a damp cloth. It is sensitive to pressure and chemicals. Keep away from:
- solvents, thinners, petrol or methylated spirits
- abrasive cleaners and the rough side of sponges
- pressure washers and dishwashers
- new paint or stickers, unless the manufacturer explicitly allows them
3. Clean the straps and buckle
The straps absorb a lot of sweat. Clean them with a soft brush or an old toothbrush and soapy water, wipe over with a damp cloth and let them air-dry. Do not soak the whole helmet to do this.
Swish the buckle briefly in lukewarm water, opening and closing it several times until sand and dust are flushed out. No oil or grease – they attract fresh dirt. While you are at it, check that the buckle clicks securely shut and that the straps are not frayed.
4. Dry without heat
Let the shell, straps and pads dry completely in the air, ideally somewhere shady and well ventilated. Do not put the helmet on a radiator, dry it with a hairdryer or leave it in a hot car. Strong heat can damage foam and plastic.
Only refit the pads once everything is dry – damp pads quickly smell musty. Then store the helmet somewhere dry and protected, for example in the flat rather than in a damp cellar or bike room.
5. Check it – and know when to replace it
Use the clean for a quick check. The BFU recommends replacing the helmet after a hard impact, even if no damage is visible, and following the service life given by the manufacturer. Also replace the helmet if you find cracks, dents in the foam, a shell that is coming loose or a faulty buckle.
Check the fit as well: according to the BFU, the helmet should sit two finger-widths above the bridge of your nose, the straps should meet just below the ear, and there should be room for one or two fingers between chin and strap. Add-ons such as lights or cameras do not belong on the helmet.
Common mistakes
- Using solvents on resin or tar: they can attack the shell – be patient with soapy water instead.
- Putting the helmet on a radiator: heat damages foam and plastic.
- Riding on after a crash: damage to the foam is often invisible – replace the helmet.
- Refitting damp pads: this encourages smells.
Once the helmet is clean, it is the bike's turn: our guide on how to clean a bike covers every step from frame to chain.
Frequently asked questions
What should I use to clean a bike helmet?
Lukewarm water and mild soap. The BFU states that water and soap are enough and that solvents can damage the shell. Abrasive cleaners, pressure washers and dishwashers are unsuitable too.
Can I put the helmet pads in the washing machine?
Only if the manufacturer allows it, usually in a laundry bag at a low temperature. Otherwise, wash the pads by hand in lukewarm soapy water and let them dry flat in the air.
What can I do about a smelly bike helmet?
Remove and wash the pads, clean the straps with soapy water and let everything dry thoroughly in the air. Then store the helmet open and dry. Scented sprays only mask the smell.
When should I replace my bike helmet?
After every hard impact, even without visible damage, and if you find cracks, dents or a faulty buckle. Also bear in mind the service life stated by the manufacturer.
Thanks for your feedback! Feel free to share the guide.
Thanks! What was missing? Drop us a line – we will improve the guide. WhatsApp