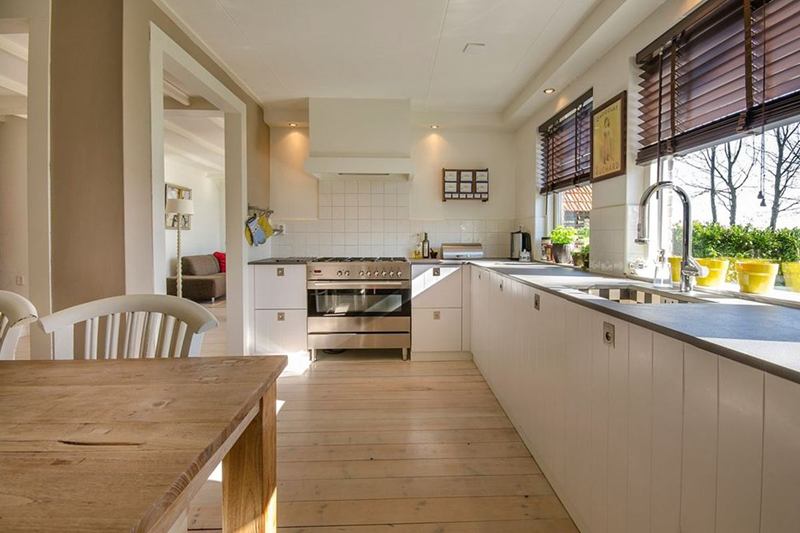
A solid wood worktop makes a kitchen feel warm and lively – as long as it is looked after. Around the sink the wood turns grey over time, water soaks in and leaves dark rings. To oil a wooden worktop, you don't need to be a professional, but you do need a little time and a few rules – above all when it comes to the oily rags.
Spring, after months of dry heating air, is a good time for a refresh. These five steps show how to clean the worktop, prepare it, oil it and look after it properly afterwards.
Why a wooden worktop needs oil
Wood is a living material: it absorbs moisture and releases it again. A care oil penetrates the pores, makes water and grease bead up and still keeps the surface open and natural. But with every wipe, with heat and with cleaning products, this protection wears thinner – fastest where the worktop is used most: by the sink, next to the hob and where the coffee machine stands.
You can tell whether your worktop is oiled or lacquered from the surface: oiled wood feels natural and shows the open grain, while lacquer forms a closed, often slightly glossy layer. If in doubt, the kitchen fitter's documents will tell you. In a rented flat, it's best to ask the property management before sanding or switching to a new care product.
| Sign | What it means | What to do |
|---|---|---|
| Water drops bead up | Protection intact | Carry on with normal care |
| Water soaks in, wood darkens | Oil layer worn out | Clean and re-oil |
| Grey, dull patches by the sink | Wood leached out | Sand lightly and oil |
| Dark rings, water marks | Moisture has got into the wood | See our guide on water marks, then oil |
| Sticky surface | Too much oil, excess not removed | Rub hard with a clean, lint-free cloth |
1. Clean the worktop thoroughly
Oil only sticks to clean wood. Clear the worktop completely and clean it with lukewarm water and a little mild soap. The cloth should be well wrung out – wood doesn't like being wet. Grease spots next to the hob come off with a little more soap and a soft sponge.
The wood then needs to dry completely, ideally overnight. Oiling damp wood traps the moisture inside, and the oil won't soak in properly. How to treat water rings that have already soaked in is explained in our guide on how to remove water stains on wood.
2. Sand lightly – only where needed
If the surface is smooth and free of stains, cleaning is enough. Where there are rough areas, raised fibres, light scratches or grey patches, sand lightly:
- Use fine sandpaper and always sand along the grain, never across it.
- Work with little pressure and evenly over the whole affected area so that no hollows form.
- Vacuum the sanding dust thoroughly, wipe with a slightly damp, well-wrung cloth, then let it dry.
Deep burns, cracks or swollen edges can't be fixed this way – a joiner can help here.
3. Oil the wooden worktop – thin rather than thick
Use an oil that the manufacturer expressly intends for worktops or surfaces in contact with food, and follow its instructions. Here's how:
- Apply the oil thinly along the grain with a lint-free cotton cloth or a brush.
- Don't forget heavily used areas such as the sink and the edges of cut-outs – that's where most water gets in.
- Let the oil soak in for as long as the manufacturer states.
- Wipe off all the excess with a clean cloth. Anything left on the surface turns sticky.
- Depending on the instructions, apply a second thin coat once the first is dry.
Ventilate the room well while you work and keep children and pets away until the worktop is dry.
4. Dispose of oily rags safely
This step is the most important – and the one most often forgotten.
Close the oil tin tightly after use and store it out of children's reach. How to dispose of leftovers is stated on the packaging. If in doubt, ask your municipality where the collection point is.
5. Let it cure and care for it properly
Freshly oiled wood needs time. Only use the worktop once the drying time stated by the manufacturer has passed, and don't put wet glasses or appliances on it in the meantime.
For everyday care: only wipe with a barely damp cloth, mop up standing water straight away, and never put down hot pans without a trivet. Hygiene matters in the kitchen too. The Federal Food Safety and Veterinary Office advises cleaning worktops with hot water and soap after each step, because germs spread via chopping boards, utensils and cloths. On wood, that means thoroughly but with a well-wrung cloth – and then wiping dry. For raw meat, it's best to use a separate chopping board; see clean a wooden chopping board.
If you have the choice: a quartz worktop needs no oil but a different kind of care – read more in our guide on how to clean a quartz worktop.
The most common mistakes
- Too much oil: the surface stays sticky, attracts dust and becomes blotchy.
- Oiling damp wood: the oil doesn't soak in and the moisture stays in the wood.
- Sanding across the grain: leaves visible scratches that the oil only accentuates.
- Oily rags in the bin: dangerous – spontaneous combustion is possible.
- Oiling lacquer: on a lacquered worktop, oil doesn't soak in and leaves a greasy film.
Frequently asked questions
How often should I oil a wooden worktop?
It depends on how much it is used. Do the water-drop test: if the water beads up, the protection is intact; if it soaks in and the wood darkens, it's time for fresh oil. Around the sink this is usually needed sooner than on little-used areas.
What is the best oil for a wooden worktop?
An oil that the manufacturer expressly recommends for worktops or surfaces in contact with food. Cooking oils from the kitchen aren't meant for this, because they can stay sticky or develop an unpleasant smell.
Why is my worktop sticky after oiling?
Usually too much oil was applied or the excess wasn't completely removed. Rub the surface hard with a clean, lint-free cloth. If that doesn't help, follow the oil manufacturer's instructions.
How do I dispose of oily rags correctly?
Soak them completely in water and let them dry outdoors, spread out flat. Never throw them into the bin screwed up and never put them in the tumble dryer – otherwise they can catch fire by themselves.
Thanks for your feedback! Feel free to share the guide.
Thanks! What was missing? Drop us a line – we will improve the guide. WhatsApp