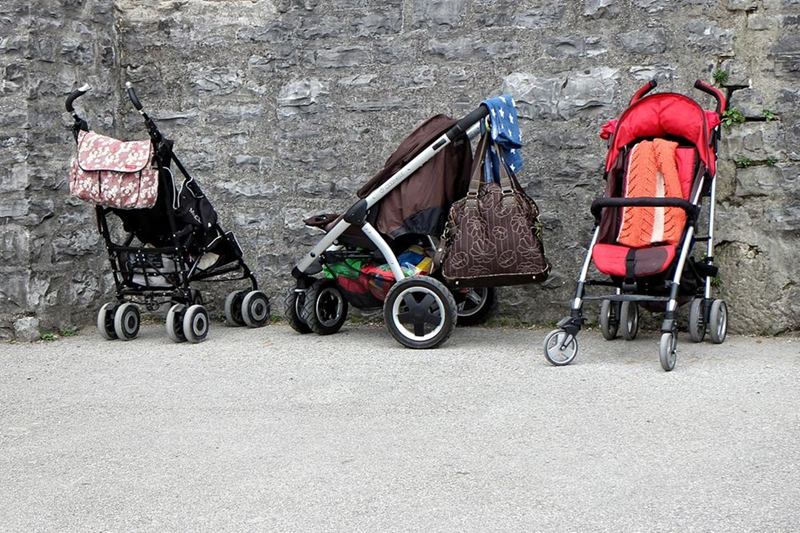
After the winter, everyday life shows: playground sand in the crevices, crumbs under the seat, grit between the spokes and a hood that was folded away damp more than once. Sensible pushchair cleaning works in stages – vacuum dry first, wash second, then let everything dry out completely.
April is the ideal moment. The days are longer, the pushchair dries on the balcony or in the attic, and the outdoor season starts with a clean seat. The five steps below work just as well for a travel system, a lightweight buggy or a double pushchair.
Why regular pushchair cleaning pays off
A pushchair is rarely kept dry. It goes through rain, slush and puddles, waits outside the shop and then ends up in the bike room. On top of that comes whatever stays on the seat: drops of milk, bits of bread, sand and leaves.
That mixture has consequences. Food residue attracts ants and fruit flies, especially when the pushchair is parked in the cellar. Sand acts like sandpaper on fabric and bearings, road salt attacks metal parts, and moisture trapped under a folded hood leads to stains and mould.
| Problem | Typical cause | What helps |
|---|---|---|
| Musty smell in the seat | Folded away damp and stored in the cellar | Open everything, wash, dry in the air |
| Dark spots on the hood | Mould from constant damp | Fix the cause, wash the fabric, dry fully |
| Stiff wheel, sticking brake | Sand, hair and grit in the axle | Vacuum, brush, clear the axle |
| Sticky harness straps | Milk and fruit residue | Clean as the manual says, mild products only |
The Federal Office of Public Health points out that mould is unhealthy and should be removed quickly, together with the cause of the moisture. The same applies here: a clean cover achieves little if the pushchair goes back into a damp corner afterwards.
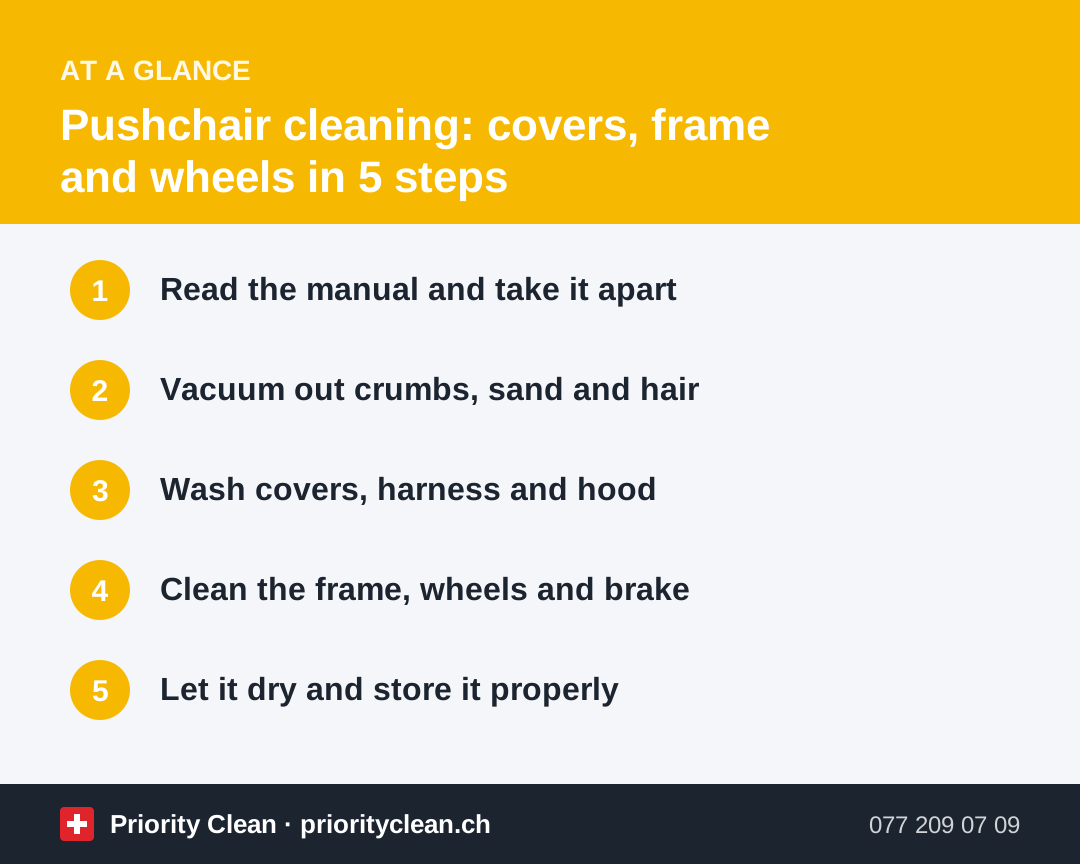
1. Read the manual and take it apart
The manufacturer's instructions explain how to release the seat unit, hood and footmuff, and whether the cover is machine washable. Photograph the pushchair with your phone before dismantling it – reassembly will be far quicker.
Remove everything that comes off: seat cover, hood fabric, insert, rain cover, shopping basket and the wheels if they have a quick release. Collect screws and small parts in a bowl so nothing goes missing.
2. Vacuum out crumbs, sand and hair
The most important step is a dry one. Run the crevice nozzle over the seat before any water appears: once wet, sand spreads through the fabric and leaves exactly the tide marks you wanted to avoid. Work through it systematically:
- Seat and backrest, including the folds at the sides
- The gap between seat and backrest, where crumbs and coins collect
- The harness slots and the area under the crotch strap
- The shopping basket, emptied and then turned upside down
- The hood, inside and out, brushed against the pile
Hair and lint come away with a soft brush. For treating the fabric with moisture afterwards, follow our guide Cleaning seat cushions.
3. Wash covers, harness and hood
This is where the care label matters. Sewn into the cover, its standardised symbols show what the fabric can take. GINETEX lets you look up what each care symbol means – from a mild cycle with reduced mechanical action to hand washing at 40 °C maximum, or the crossed-out tub that rules out washing altogether.
Three cases come up in practice:
- Machine washable: close the hook-and-loop fasteners, put the cover in a laundry bag, run a delicate programme at the stated temperature, use little detergent and no fabric softener.
- Hand wash only: move the cover through lukewarm water with a little delicate detergent, without rubbing or wringing; simply squeeze the water out.
- Not washable: wipe with a damp cloth only. For stains, mild soapy water is almost always enough.
Special products are rarely needed: the Swiss consumer protection foundation shows that a handful of household remedies such as curd soap, bicarbonate of soda or vinegar replace many cleaners. Test any product on a hidden area first.
4. Clean the frame, wheels and brake
The frame tolerates more than the fabric, but it does not need an aggressive product either. Wipe tubes, joints and handle with warm soapy water and dry straight away. A damp cloth is enough for a faux-leather handle; no alcohol.
The wheels are best taken off and rinsed outside. Remove hair, blades of grass and string wound around the axle – scissors are often needed. Brush out the tread with an old toothbrush, check the pressure on air-filled tyres and make sure the brake is not clogged with sand.
5. Let it dry and store it properly
Drying is the step most people underestimate. Hang covers and hood fabric up in the air, but not in full sun: strong UV fades colours and makes plastic parts brittle. The tumble dryer is almost always out of the question unless the label expressly allows it. Only reassemble the pushchair once the padding inside is dry too. For everyday use, the following routine keeps it that way:
The most common mistakes
- Reaching for the pressure washer: the jet forces water into bearings and seams. A bucket of soapy water is enough.
- Wetting the fabric before vacuuming: damp sand barely comes out of the weave again.
- Washing too hot: many covers lose their water-repellent finish that way.
- Reassembling while damp: the main reason for musty smells and staining.
- Forgetting the toys: teething ring, dummy clip and play arch belong in the clean too, see Cleaning toys.
Frequently asked questions
Can a pushchair cover go in the washing machine?
Only if the manual and the care label allow it. If a tub with a temperature is shown, use a delicate programme at that temperature, ideally in a laundry bag. A hand symbol or a crossed-out tub means hand washing or simply wiping with a damp cloth.
How do I remove mould stains from the hood?
Deal with the cause first: the pushchair has to be stored dry and left open to air after every outing. Then wash the fabric at the highest temperature the label permits. If dark spots remain, the fibres are often permanently stained; with a heavy growth a replacement cover is the better answer.
How often should a pushchair be cleaned?
Vacuum crumbs and sand weekly, treat stains straight away, and take the whole thing apart twice a year for a thorough clean – ideally in spring and before you put it into storage.
What do I do about sand brought home from the sandpit?
Vacuum it while it is still dry, and shake out the cover and footmuff outdoors first. To keep the sandpit itself clean, see our guide How to clean a sandpit.
Thanks for your feedback! Feel free to share the guide.
Thanks! What was missing? Drop us a line – we will improve the guide. WhatsApp