The tiles are clean, the glass is clear – and yet the joint between shower tray and wall is covered in grey or black dots. Black mould on shower silicone is one of the most common bathroom problems we see, in older flats and new builds alike. Sometimes it wipes away; sometimes it keeps coming back no matter what you try. The difference lies in whether the mould sits on the surface or has already grown into the sealant. Here are five solutions, in the order we would try them.
Why silicone joints attract mould
Silicone sealant in the shower is wet almost every day. Soap residue, skin cells and shampoo collect in the small groove between tray and tiles and provide food. Add warm, humid air and poor ventilation, and mould spores find ideal conditions.
Silicone is also slightly porous and ages over time. Once its surface becomes rough or cracked, mould can grow into the material itself. At that point, no cleaner can reach it. The Federal Office of Public Health advises removing mould quickly and, above all, finding and fixing the cause of the moisture.
Surface stain or grown in? A quick test
Before you choose a method, check the joint:
| What you see | Likely situation | Best approach |
|---|---|---|
| Grey film that lightens when wiped | Soap residue with surface mould | Methods 1 and 2 |
| Black dots that fade after treatment | Surface mould | Method 2 or 3 |
| Black spots that return within weeks | Mould inside the sealant | Method 4 |
| Sealant loose, cracked or water behind it | Damaged joint | Method 4, check for damp |
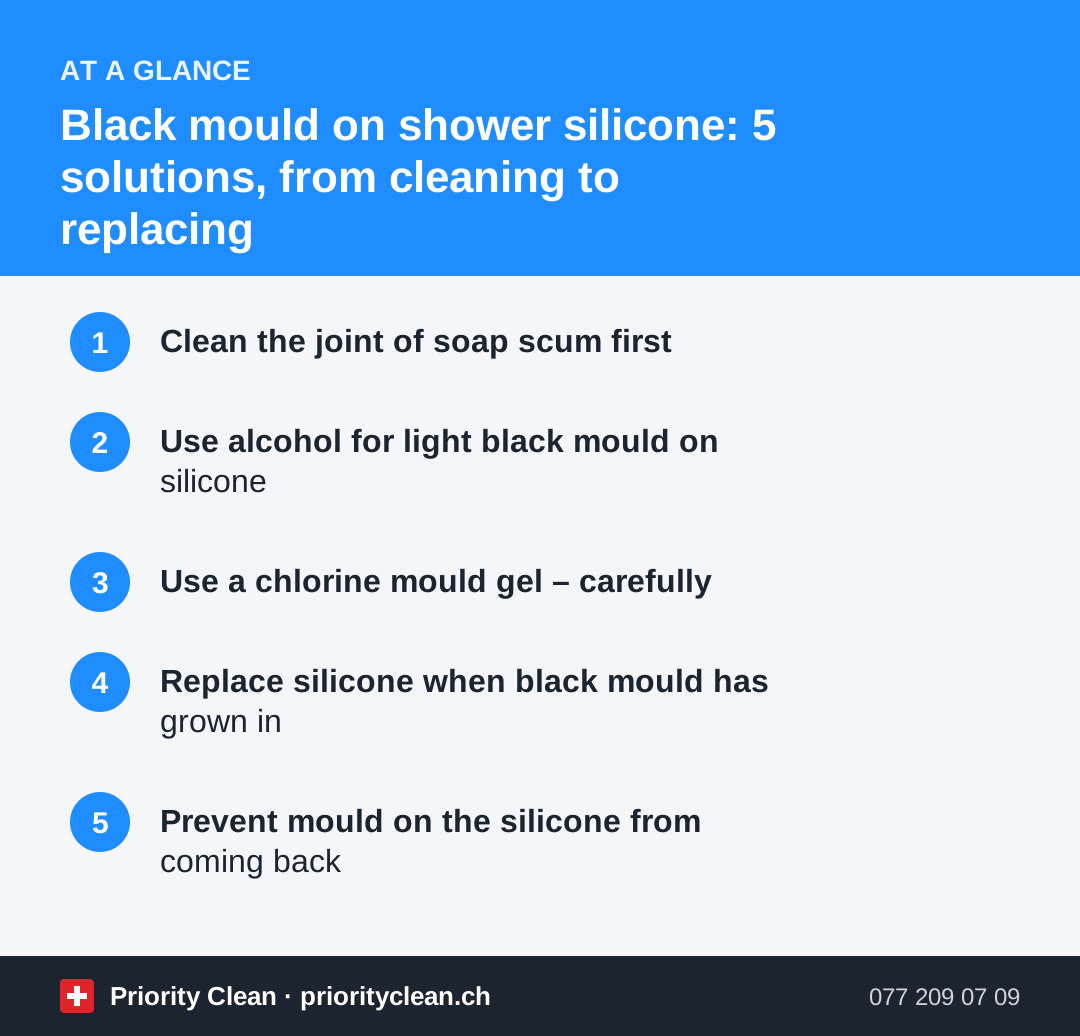
1. Clean the joint of soap scum first
Mould gels and sprays work better on a clean surface.
- Wipe the joint with warm water and a little washing-up liquid.
- Use a soft toothbrush along the groove – no wire brushes or blades, which damage the silicone.
- Rinse with clear water and dry the joint with a cloth.
Sometimes this alone reveals that the "mould" was mostly discoloured soap film.
2. Use alcohol for light black mould on silicone
For light surface mould, a high-percentage alcohol (such as isopropyl alcohol or surgical spirit from a pharmacy or DIY store) is a milder first option.
- Air the bathroom and wear gloves.
- Apply the alcohol with a cloth or cotton pad and let it work briefly.
- Wipe, repeat if needed and let the joint dry completely.
Alcohol is flammable: no candles or heaters nearby. Test it first on a hidden part of the sealant.
3. Use a chlorine mould gel – carefully
For stubborn spots, chlorine-based mould removers in gel form from the supermarket or DIY store work well, because the gel stays on vertical joints.
- Open the window and keep the door open. Wear gloves and old clothes.
- Apply a thin line of gel directly onto the dry joint.
- Leave it for the time stated on the label – often several hours or overnight.
- Rinse thoroughly with plenty of water and dry.
Chlorine can bleach coloured silicone and textiles. Keep it away from bath mats and towels.
4. Replace silicone when black mould has grown in
If black spots return after a few weeks, the mould is inside the sealant. Replacing the silicone is the only lasting solution.
- Cut out the old silicone with a plastic scraper or special joint knife, taking care not to scratch tiles or the tray.
- Remove all residues and clean the area, including any mould on the tiles underneath.
- Let the joint dry thoroughly – ideally overnight or longer.
- Mask the edges with tape and apply sanitary silicone with fungicide in one steady line.
- Smooth it, remove the tape and do not use the shower until the sealant has cured as stated on the package.
In a rented flat, check with your property management before replacing joints yourself. Many prefer to commission a specialist, especially if water may have got behind the sealant.
5. Prevent mould on the silicone from coming back
The best treatment is useless if the bathroom stays damp.
- Squeegee the shower walls and wipe the silicone joints dry after showering.
- Air the bathroom fully after each shower instead of leaving the window tilted all day.
- Leave the shower door or curtain open so the cubicle can dry.
- Clean the joints weekly with mild cleaner to remove soap residue.
- Run the extractor fan long enough and clean its grille regularly.
Limescale and soap scum give mould a foothold, so a regular descaling routine helps too. Our guide on removing limescale in the shower explains how to do it safely – on a different day from any chlorine treatment. Grey tile joints are covered in our article on cleaning grout.
Common mistakes with mouldy silicone
- Scraping with a knife or wire brush: Roughens the silicone so mould returns faster.
- Mixing chlorine and descaler: Dangerous – always use them separately with thorough rinsing.
- Sealing over old silicone: New sealant on top of mouldy sealant will not adhere and hides the problem.
- Only treating the symptom: Without better drying and airing, black mould in the silicone comes back.
- Ignoring large or spreading mould: Mould on walls or ceilings, or musty smells, need the cause investigated – in a rental, by the landlord.
Frequently asked questions
How do I get black mould off shower silicone?
Clean the joint of soap residue first, then treat light mould with alcohol or stubborn spots with a chlorine-based mould gel, following the label and airing well. If the black spots return within weeks, the mould has grown into the silicone and it needs replacing.
Why does mould keep coming back on my shower silicone?
Usually because the mould is inside the sealant or because the joint stays wet for long periods. Replacing the silicone and drying the shower after each use are the most effective steps.
Can I use vinegar on mouldy silicone?
Vinegar is better suited to limescale than to mould in silicone, and it can affect some sealants over time. Above all, never use vinegar or other acids together with chlorine products.
Who pays for mould in a rented flat in Switzerland?
That depends on the cause and on the individual case. Report mould to your property management in writing early, air and heat reasonably, and seek advice from a tenants' association if there is disagreement.
Thanks for your feedback! Feel free to share the guide.
Thanks! What was missing? Drop us a line – we will improve the guide. WhatsApp