You can scrub the tiles until they gleam, but if the joints between them are grey, the whole bathroom looks tired. Grout is porous, so it absorbs dirt, soap residue and grease far more readily than the smooth tile surface. Knowing how to clean grout properly means using mild methods first and saving the stronger ones for when they are really needed. Here are five approaches for bathroom walls, shower floors and kitchen splashbacks.
Why grout turns grey
Most tile grout in Swiss homes is cement-based. Its surface is slightly rough and open-pored, so dirt settles in and water carries it deeper. In the bathroom, soap scum, skin oils and limescale build up; in the kitchen, it is grease and food splashes; on floors, it is simply dirt from shoes and mop water.
Mopping with dirty water is a classic cause of grey floor joints: the dirt is spread across the tiles and settles in the lowest points – the joints. Dark, spotty discolouration in damp areas, on the other hand, can indicate mould. The FOPH recommends removing mould quickly and dealing with the cause of the dampness.
Which method for which joint?
| Situation | Suggested method |
|---|---|
| Light grey film on wall or floor joints | Method 1: warm water, washing-up liquid, grout brush |
| Stubborn grey joints | Method 2: baking soda paste |
| Grease on kitchen joints | Methods 1 and 3 |
| Large floor areas, deep dirt | Method 3: steam cleaner (if tiles and grout allow) |
| Black spots in the shower | Method 4: mould treatment, separately |
| Clean but discoloured joints | Method 5: grout pen |
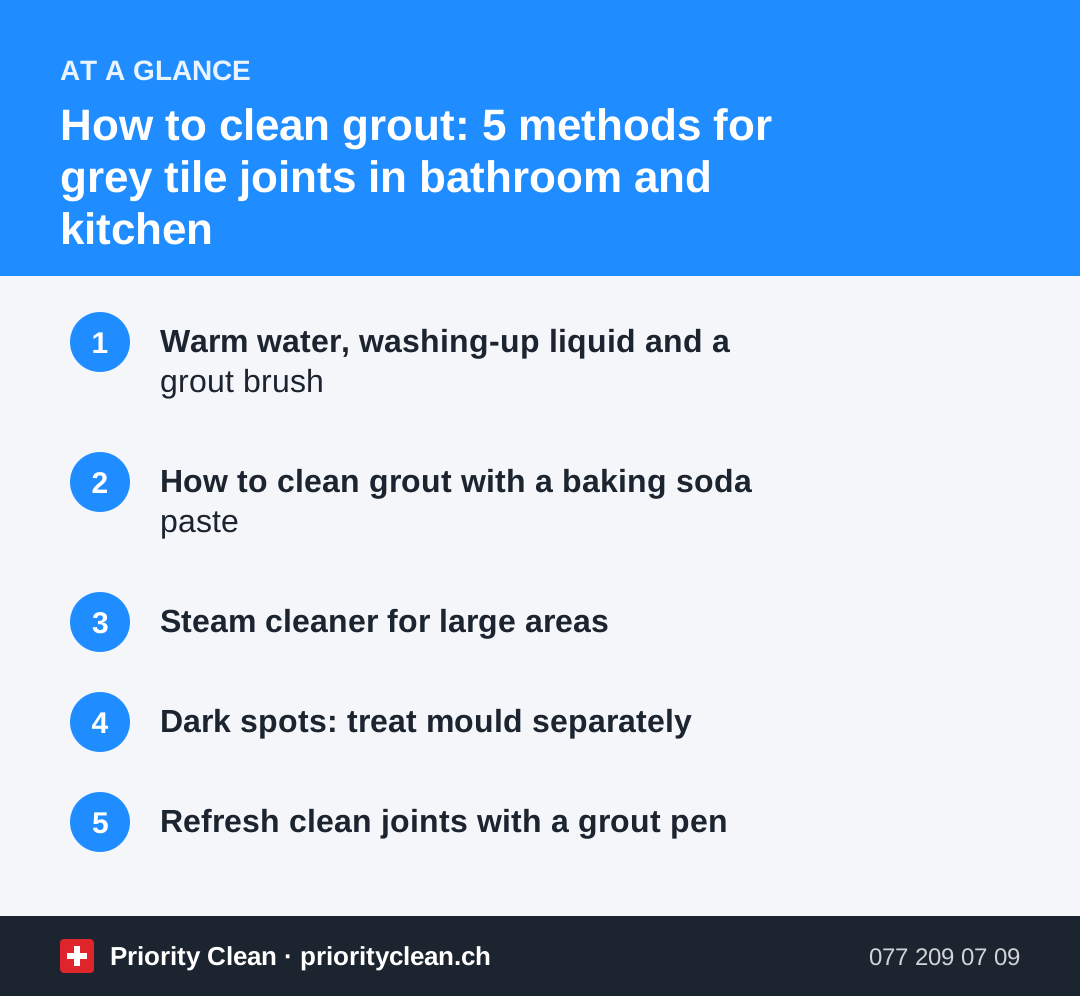
1. Warm water, washing-up liquid and a grout brush
The simplest method is often underestimated.
- Mix warm water with a small squirt of washing-up liquid.
- Wet the joints and let the solution work for a few minutes.
- Scrub along each joint with a narrow grout brush or an old, firm toothbrush.
- Wipe off the loosened dirt with a damp cloth and rinse with clear water.
- Dry with a microfibre cloth so dirty water does not sink back into the joints.
A grout brush with angled bristles makes the job much faster than a toothbrush on larger areas – and shows how much of the grey was simply surface dirt.
2. How to clean grout with a baking soda paste
For stubborn grey joints, a paste of baking soda (Natron) acts as a gentle abrasive.
- Mix three tablespoons of baking soda with a little water into a thick paste.
- Apply it along the joints with a brush or your gloved finger.
- Leave it for 10–15 minutes.
- Scrub along the joints with a grout brush.
- Rinse thoroughly with clear water and dry.
Baking soda is mild enough for regular use on cement grout and most glazed tiles. On natural stone, test on a hidden spot first.
3. Steam cleaner for large areas
A steam cleaner with a small detail nozzle loosens dirt from joints without chemicals.
- Check that your tiles, grout and any silicone joints can handle heat and steam.
- Work joint by joint and wipe away the loosened dirt immediately with a cloth.
- Do not steam cracked or crumbling joints – moisture can get behind the tiles.
- Keep steam away from natural stone that is not sealed, and from wooden or laminate surfaces nearby.
Steam is very effective on kitchen joints with grease and on floor tiles, but it does not remove limescale deposits.
4. Dark spots: treat mould separately
If black or dark green spots keep coming back in shower joints, you may be dealing with mould rather than dirt. Chlorine-based mould removers in gel form can help on grout, but they require care.
For mould in the silicone joints between shower tray and wall, see our guide on black mould on shower silicone.
5. Refresh clean joints with a grout pen
Sometimes joints are clean but still discoloured – especially old white grout that has turned beige. A grout pen from the DIY store can refresh the colour.
- Clean and dry the joints thoroughly first.
- Test the pen on a small, hidden area.
- Draw along the joints in one steady line.
- Wipe any colour off the tiles immediately with a damp cloth.
- Let it dry fully before the area gets wet.
In a rental flat, bear in mind that a grout pen changes the appearance. Choose a colour close to the original and use it neatly, or leave it out before a handover.
Why acids are a risky shortcut
Anyone researching how to clean grout soon comes across acids. Citric acid or vinegar dissolves limescale on tiles quickly, and it is tempting to use it on grey joints too. The problem: cement-based grout contains lime. Regular or long exposure to acids can roughen the surface of the joint, wash out fine particles and make it even more absorbent. Occasional, short use on limescale followed by thorough rinsing is one thing; soaking joints in acid is another. Keep all products in their original containers, as Tox Info Suisse recommends to prevent poisoning at home.
Common mistakes
- Wire brushes or scraper blades: Damage the joint surface and tile edges.
- Acids on cement grout: Roughen the joints over time and can damage natural stone.
- Mopping with dirty water: Deposits dirt right back into floor joints.
- Mixing chlorine and descaler: A serious safety risk.
- Painting over dirty joints: Grout pens do not stick well on dirty or damp grout.
Limescale on tiles and glass needs a different approach – read our guide on removing limescale in the shower.
Frequently asked questions
What is the best way to clean grout?
Start with warm water, washing-up liquid and a grout brush. For stubborn grey joints, apply a baking soda paste, leave it for 10–15 minutes, scrub, rinse and dry the joints.
How do I clean grout that has turned black?
Black spots in damp areas are often mould. Treat them with a suitable mould remover following the label, air the room well and never combine it with acidic cleaners. If the spots keep returning, improve ventilation or have the joints checked.
Can I use vinegar on grout?
Occasional short use to remove limescale is possible, but regular use of vinegar or other acids can damage cement-based grout. Rinse thoroughly afterwards and avoid acids on natural stone.
How do I keep grout clean for longer?
Squeegee and air the bathroom after showering, wipe joints dry after cleaning and change mop water frequently. A grout sealer from the DIY store can make some joints less absorbent – follow the product instructions.
Thanks for your feedback! Feel free to share the guide.
Thanks! What was missing? Drop us a line – we will improve the guide. WhatsApp