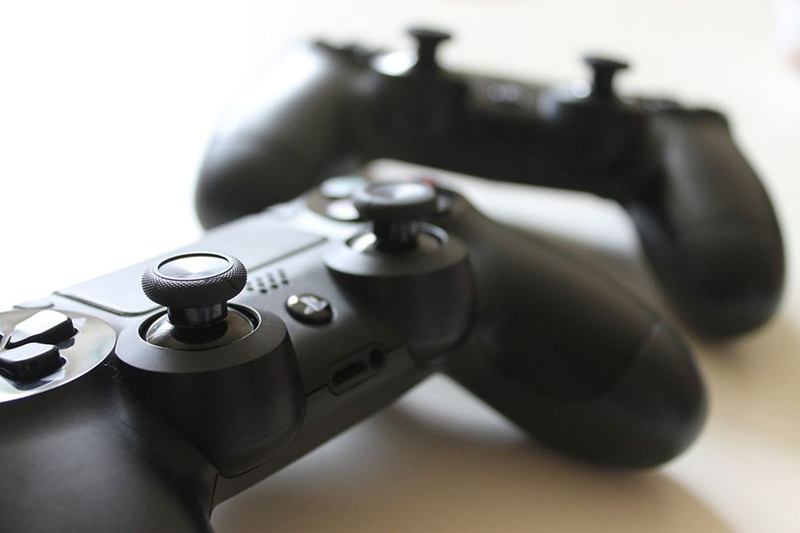
Sticky buttons, a greasy grip, crisp crumbs around the D-pad: a controller spends hours in warm hands, gets grabbed between snacks and is often passed between siblings, children and guests. To clean a game controller properly, you mainly need very little liquid and some patience for the seams.
In February, when evenings are long and stomach bugs are doing the rounds, a good clean pays off twice over. These five steps show how to clean buttons, sticks and grips thoroughly without damaging the device.
Why you should clean your game controller
While you play, skin oils, sweat and food residue build up on the casing. Dust, crumbs and hair collect in the seams around the buttons, D-pad and sticks. The result: grips feel greasy, buttons stick or no longer spring back cleanly, and the sticks get stiff.
Then there is hygiene, because a controller passes from hand to hand. The Federal Office of Public Health (FOPH) notes that norovirus spreads via hands and contaminated objects and stays infectious on surfaces for more than 12 days. Washing your hands and wiping shared devices should therefore be routine, especially during stomach bug season.
| Area | What to use | Watch out |
|---|---|---|
| Grips and casing | Microfibre cloth, barely damp, or an isopropyl alcohol wipe | Never dripping wet |
| Buttons and D-pad | Lightly dampened cotton bud | Don't let anything run into the gaps |
| Thumbsticks | Cotton bud, soft toothbrush for the caps | Rotate the stick while cleaning |
| Seams and joints | Wooden toothpick, small brush, compressed air in short bursts | No needles or knives |
| Charging port | Dry only: small brush or compressed air | No liquid, nothing metal |
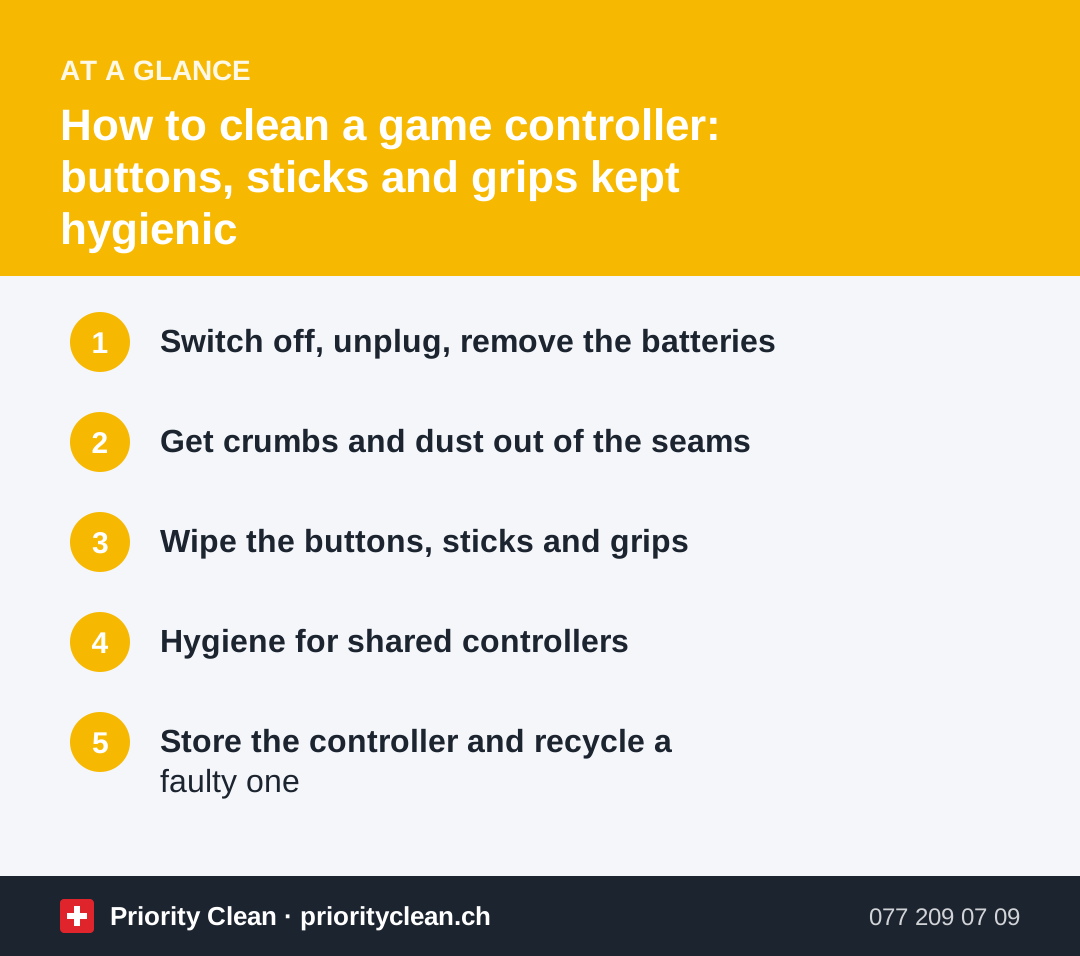
1. Switch off, unplug, remove the batteries
Switch the controller off and unplug the charging cable. If it has a battery compartment, take out the batteries or battery pack. Many models have a built-in rechargeable battery – in that case, switching them off and disconnecting the cable is enough.
While you are at it, look inside the battery compartment: white, crusty deposits point to leaking batteries. Only handle them with gloves and clean the contacts dry with a cotton bud. Old batteries don't belong in the household rubbish: the Federal Office for the Environment (FOEN) points out that all points of sale must take batteries back free of charge, even without a purchase.
2. Get crumbs and dust out of the seams
Turn the controller upside down and tap it gently against your palm to shake out loose crumbs. Then work systematically along the seams:
- Run a wooden toothpick along the joins and around the buttons, D-pad and triggers.
- Brush out dust with a soft paintbrush or a clean, soft toothbrush.
- Loosen stubborn crumbs with short bursts of compressed air – keep the can upright and spray from a little distance.
- Clean the charging port only when dry and never poke metal into it.
3. Wipe the buttons, sticks and grips
For the surfaces, a microfibre cloth lightly dampened with water and a drop of washing-up liquid, then wrung out well, is usually enough. For greasy grips and extra hygiene, isopropyl alcohol works well – apply it sparingly to the cloth or cotton bud, never directly onto the controller. Check the manual first to see which products the manufacturer allows.
- Wipe the grips and back with the damp cloth, then dry them.
- Go round each button with the cotton bud – damp, but not dripping.
- Push the stick fully to one side, clean the exposed gap, then rotate the stick until you have gone all the way round.
- Brush the rubberised stick caps with the toothbrush and a little soapy water, then wipe them with a damp cloth.
- Let everything dry completely before you switch the controller on or charge it.
4. Hygiene for shared controllers
Give shared controllers a quick wipe after every games night with friends. Even more important is washing your hands before and after playing – which also keeps crisp grease off the buttons.
If someone in the household has a stomach bug, ideally give them their own controller, and clean all devices thoroughly once they have recovered. Keep bleach and other bleaching agents away from electronics. For the rest of the flat during that time, see our guide on cleaning after a stomach bug.
5. Store the controller and recycle a faulty one
After playing, keep the controller somewhere dust-free, such as a drawer or box, not on the radiator or in direct sunlight. Charge it with the right cable and only once it is completely dry.
If a stick drifts on its own despite cleaning, wear is often the cause. Don't open the casing yourself – that may put your warranty at risk. Discuss repair or replacement with the manufacturer or retailer. A controller that no longer works, like any electrical device, doesn't go in the rubbish but back to a shop or to a collection point. For keyboards, mice, phones and remotes, see our guides on how to clean a keyboard, mouse and screen and how to clean your phone screen.
Common mistakes
- Spraying cleaner directly onto it: liquid runs into the gaps and can damage the electronics.
- Using dripping wet wipes: these also let too much liquid inside.
- Choosing harsh products: bleach, acetone or scouring powder attack the plastic and rubber coating.
- Poking the seams with needles or knives: this scratches the casing and can damage contacts.
- Playing or charging straight away: everything has to be dry first.
Frequently asked questions
How often should I clean my game controller?
A quick wipe after every longer session is worthwhile, especially when several people play. A thorough clean of the seams, buttons and sticks is enough about once a month with normal use – sooner if buttons are sticking or someone in the household is ill.
Can I disinfect a game controller?
Yes, but carefully: many manufacturers allow you to wipe the outer surfaces with a cloth lightly dampened with isopropyl alcohol. Don't spray anything directly onto the device, avoid bleach and let everything evaporate well. The manual has the final say.
What helps with sticky buttons?
Run a cotton bud lightly dampened with isopropyl alcohol around the edge of the button while pressing it several times. If that doesn't help, the dirt is inside – a repair by the manufacturer or a specialist shop is then a better idea than opening the controller yourself.
Does cleaning help with stick drift?
Sometimes, if dust or crumbs are obstructing the stick. Often, however, drift is caused by wear inside the controller. If the problem remains after cleaning, discuss warranty, repair or replacement with the manufacturer or retailer.
Thanks for your feedback! Feel free to share the guide.
Thanks! What was missing? Drop us a line – we will improve the guide. WhatsApp