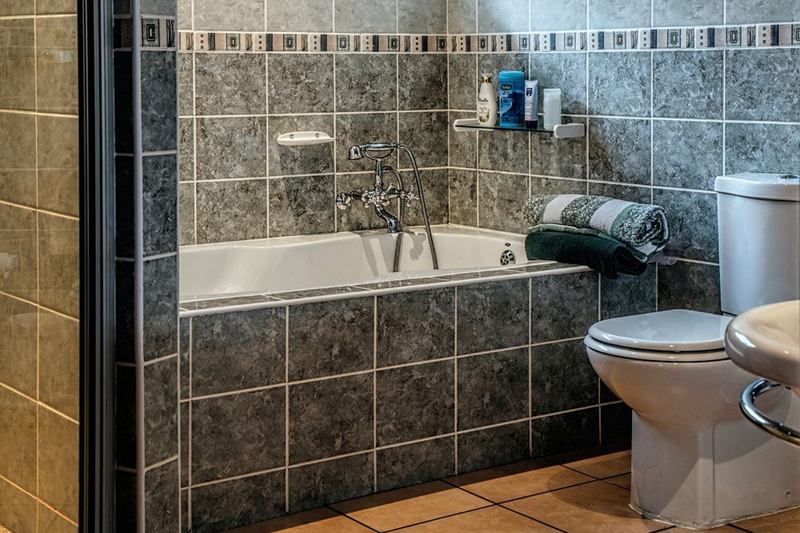
A mouldy or cracked silicone joint is quickly cut out. The hard part comes afterwards: a tough, slightly shiny film stays on tiles, bath and glass, and new silicone will not stick to it. To remove silicone sealant properly, you mainly need the right tools and some patience rather than force – glazes, enamel and acrylic scratch easily.
The effort pays off. Only a clean, dry and grease-free surface gives you a new joint that stays watertight and looks good for years. Five steps take you from the old strip of silicone to a perfectly prepared surface.
Why silicone residue is so stubborn
Sanitary silicone is an elastic sealant that bonds firmly to the surface as it cures. That grip is what makes the joint watertight – and the residue so tenacious. On top of that, silicone repels water: ordinary cleaner simply beads off, and a thin film remains even after scrubbing.
New silicone bonds poorly to old silicone. Covering an old joint is therefore not enough: moisture creeps underneath and mould soon returns. To treat light mould without replacing the joint, see our guide to black mould on shower silicone.
| Surface | Suitable tool | Avoid |
|---|---|---|
| Glazed tiles | Craft knife, plastic scraper, hob scraper held flat | Screwdrivers, steel wool |
| Enamelled bath | Plastic scraper, eraser | Metal blades, scouring powder |
| Acrylic bath, plastic shower tray | Plastic scraper, fingertip, mild soap | Blades, solvent removers not approved for the surface |
| Glass (shower screen) | Glass scraper on wet glass | Dry scraping, blades on coated glass without the maker's approval |
| Natural stone | Plastic scraper, specialist advice | Acids, aggressive removers |
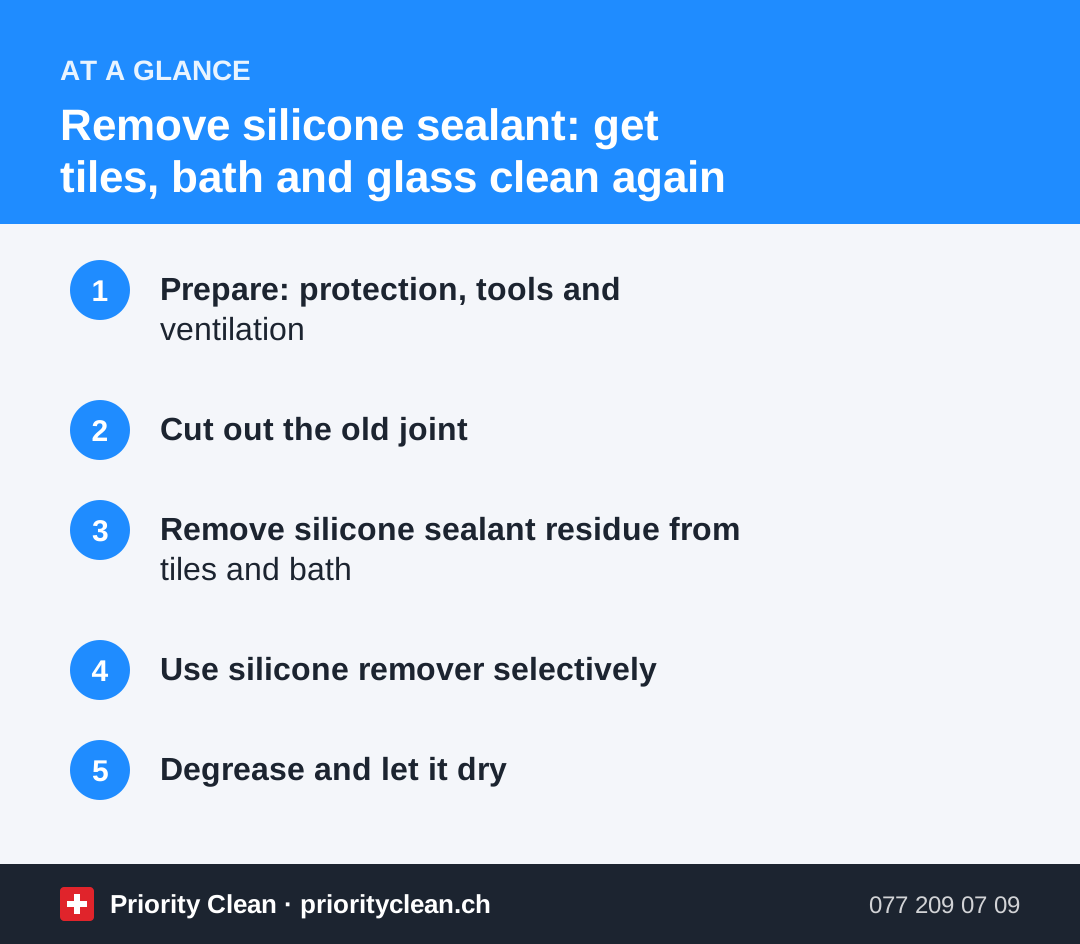
1. Prepare: protection, tools and ventilation
Get everything ready before you start: a sharp craft knife or joint knife, a plastic scraper, a hob scraper for tiles and glass, a white eraser, household gloves, kitchen paper and cleaning alcohol.
Cover the bottom of the bath with an old towel or cardboard so no blade or tool falls in. Open the window or switch on the extractor fan, especially if you will be using a chemical remover later.
2. Cut out the old joint
- Hold the craft knife flat against the tile edge and cut along the full length of the joint.
- Make the second cut along the edge of the bath or shower tray.
- Grip the silicone at one end and slowly pull it out as a strip. If it breaks, start again further along.
Always cut away from your body, with your other hand behind the blade. Replace a nicked blade immediately, as it leaves scratches.
3. Remove silicone sealant residue from tiles and bath
After pulling out the strip, thin residue almost always stays on the edges. Push it off with the plastic scraper held flat. On glazed tiles a hob scraper is fine too – always flat and with little pressure, so the glaze is not damaged.
Enamelled baths, and acrylic ones even more so, do not forgive metal blades. Work there only with plastic tools and your fingers.
4. Use silicone remover selectively
If a shiny haze remains, a chemical silicone remover from a DIY store can help. It softens the residue so you can scrape or wipe it off. Stick exactly to the contact time and the instructions on the label. Many products are not suitable for acrylic, plastic or natural stone.
On glass shower screens, push residue off with the glass scraper on wet glass. For glass with a protective coating, check the manufacturer's care instructions first.
5. Degrease and let it dry
The key step before the new joint: wipe the edges with cleaning alcohol or methylated spirits and a lint-free cloth. This removes soap residue, skin grease and the last traces of silicone. Check with your fingertip: if the surface feels smooth and matt, it is ready.
Then let it dry completely, ideally overnight with the window open. Moisture in the gap is the most common reason new joints go mouldy early. How long fresh silicone needs to cure before you shower again is printed on the cartridge. Keep the grout clean afterwards with our guide to cleaning tile grout.
Common mistakes
- New silicone over old residue: the joint does not bond and soon leaks.
- Metal blades on acrylic or enamel: the scratches are permanent and trap dirt.
- Resealing too soon: leftover moisture and soap film stop the silicone bonding.
- Pouring remover down the drain: solvents belong in hazardous waste.
Silicone joints and handing back a rented flat
In a rented flat, ask the property management before cutting out intact joints. For the handover, the Swiss homeowners' association HEV Schweiz expects a thorough clean of all rooms, including limescale in the bathroom and WC. Clean, mould-free joints are part of a well-kept bathroom.
Frequently asked questions
What is the best way to get silicone residue off?
A plastic scraper held flat, an eraser for thin films and, if necessary, a silicone remover used as labelled. Finish by degreasing with alcohol.
Can I use a blade on tiles?
On glazed tiles and glass, yes – with a new blade held flat and little pressure. On acrylic, enamel and natural stone, use plastic tools only.
Will new silicone stick to old silicone?
Not reliably. New silicone bonds poorly to old residue, so remove the old joint completely and clean the edges thoroughly.
How long should I wait before showering after resealing?
That depends on the product: the curing time is printed on the cartridge. Stick to it and ventilate well so the new joint can cure undisturbed.
Thanks for your feedback! Feel free to share the guide.
Thanks! What was missing? Drop us a line – we will improve the guide. WhatsApp