If the freezer drawers stick, the door no longer closes properly or you can barely see the back wall for ice, it is time to defrost the freezer. Many flats in Switzerland come with built-in fridge-freezers, and older models or small freezer compartments in particular build up ice quickly. Defrosting is not difficult, but done in a hurry it can end with puddles, soaked kitchen cabinets or damaged cooling pipes.
Here is how to do it safely in five steps – and why it also lowers your electricity use.
When should you defrost your freezer?
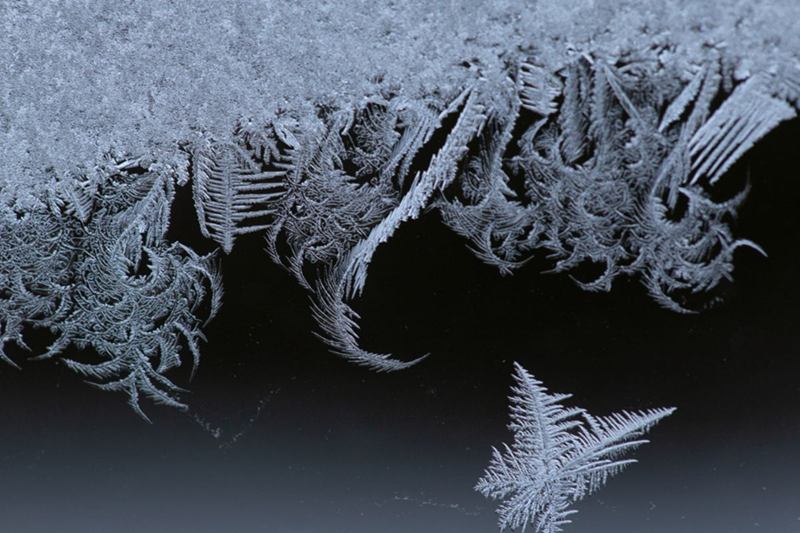
Ice forms when warm, humid air enters the appliance – every time you open the door – and the moisture freezes on the cold surfaces. A thin frosty film is normal. A thick layer of ice is not: it insulates the cooling surfaces, so the appliance has to work harder.
EnergieSchweiz recommends defrosting freezers regularly and keeping door seals clean so that they close tightly. As a rule of thumb, it is worth defrosting when:
- The ice is several millimetres thick and keeps growing.
- Drawers or flaps are hard to open or close.
- The door seal no longer closes properly because of ice.
- You are about to move out and the fridge must be handed over clean and dry.
Many newer appliances have a "no frost" function and never need manual defrosting. Check the manual or the manufacturer's website if you are unsure.
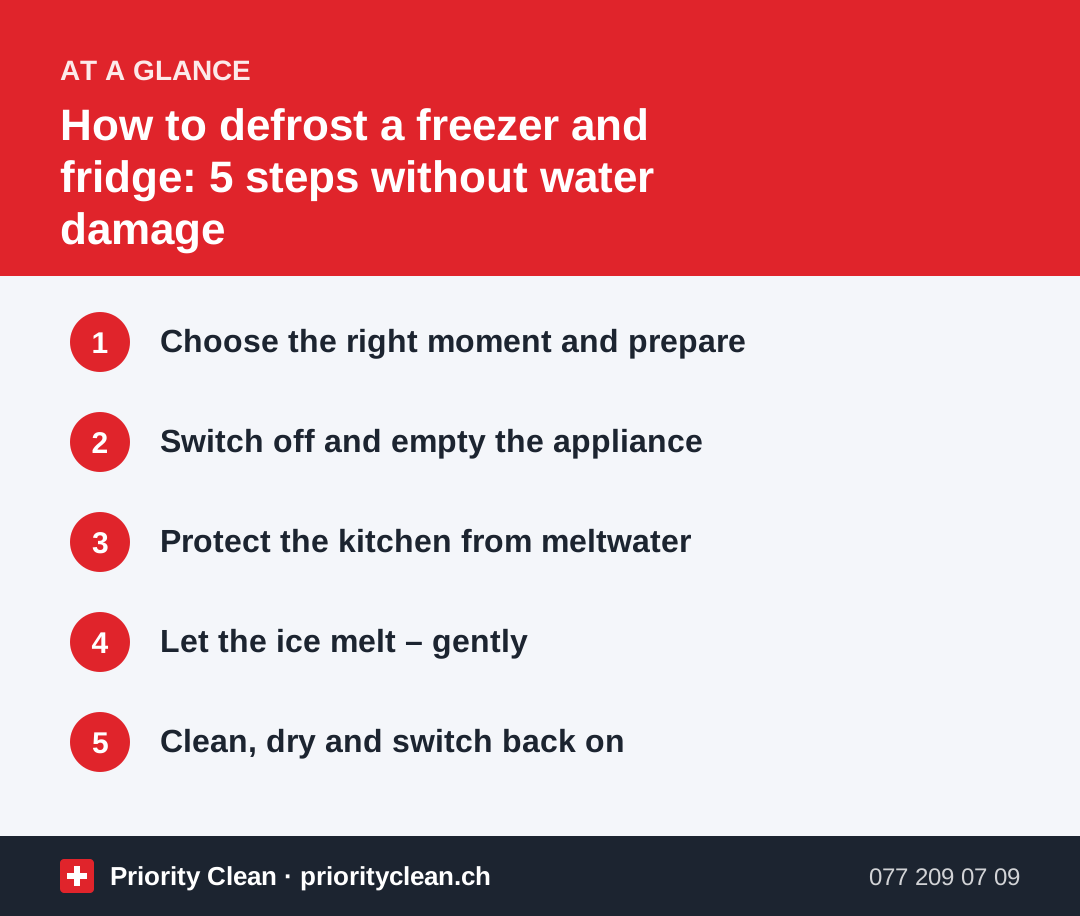
1. Choose the right moment and prepare
The best time is when the freezer is nearly empty – for example before a big shop or before a holiday. Cool autumn days are ideal because the food stays colder while you work.
- Use up frozen food in the days before.
- Have ready: a cool box or insulated bags with ice packs, several old towels, a flat baking tray, a bowl, a soft sponge and a plastic scraper.
- Read the manual: some models have a special defrost setting.
2. Switch off and empty the appliance
- Switch off the appliance or unplug it. For combined fridge-freezers with one power supply, both parts will be off.
- Take out all food and pack frozen items tightly together in the cool box – food keeps each other cold.
- Put chilled items such as meat, fish and dairy products in a cool bag as well. The Federal Food Safety Office reminds us to keep meat, poultry and fish below 5 °C.
- Remove drawers, shelves and ice trays.
3. Protect the kitchen from meltwater
This is where most damage happens. Meltwater runs faster than you expect and can seep into the base of kitchen cabinets.
- Fold towels and place them on the floor in front of the appliance and on the bottom shelf.
- Put a flat baking tray in the lowest compartment to catch dripping water.
- Leave the door fully open.
- Change soaked towels regularly.
4. Let the ice melt – gently
Patience is the safest method. To speed things up a little without risk:
- Place a bowl of hot tap water inside the freezer and close the door for 10–15 minutes, then replace the water.
- Once the ice has loosened, lift large pieces out by hand or with a plastic scraper.
5. Clean, dry and switch back on
When all the ice has melted, clean the appliance before you switch it on again.
- Wipe the inside with lukewarm water and a little washing-up liquid or a splash of vinegar.
- Wash drawers and shelves in the sink – not with very hot water if they are cold, as glass shelves can crack.
- Clean the door seals, including the folds, and dry them.
- In the fridge section, find the small drain hole at the back wall and clean it gently with a cotton bud or pipe cleaner so that condensation can drain.
- Dry everything thoroughly with a clean cloth.
- Switch on, wait until the appliance has cooled down and then put the food back in.
For a full fridge clean including odours, read our guide on how to clean a fridge.
How to keep ice from building up
- Close the door quickly and make sure it seals properly.
- Let hot food cool before putting it in.
- Pack food in airtight containers or freezer bags.
- Do not set the freezer colder than necessary; −18 °C is sufficient for most households.
- Check the door seal with a sheet of paper: if it slides out easily when the door is closed, the seal may need cleaning or replacing.
Common mistakes when defrosting
- Using sharp tools: The most expensive mistake – damaged cooling pipes are rarely worth repairing.
- Leaving it to melt unattended: Water can run under kitchen units overnight.
- Putting food back too early: Let the appliance cool down first.
- Forgetting the drain hole: A blocked drain causes water to collect under the vegetable drawers.
Frequently asked questions
How long does it take to defrost a freezer?
It depends on the thickness of the ice and the room temperature. A thin layer may melt within an hour; a thick layer can take several hours. A bowl of hot water inside speeds it up safely.
Can I defrost the freezer without turning off the fridge?
In most combined appliances with a single power supply, both parts are switched off together. Some models have separate controls or a defrost function – check the manual for your appliance.
How often should you defrost a freezer?
Whenever a clearly visible ice layer has formed, which for many older models means once or twice a year. No-frost appliances do not need manual defrosting.
Do I have to defrost the fridge when moving out in Switzerland?
In practice, the fridge and freezer are expected to be clean and dry at the handover, with the doors left ajar. Defrost and clean them a day or two before so they have time to dry.
Thanks for your feedback! Feel free to share the guide.
Thanks! What was missing? Drop us a line – we will improve the guide. WhatsApp